TO BLEED OR NOT TO BLEED...THAT IS THE QUESTION.
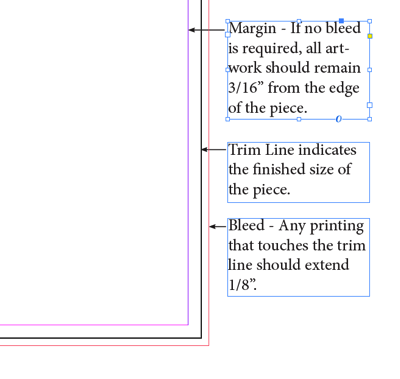
It is very difficult to print exactly to the edge of a sheet of paper/card, to achieve this, it is necessary to print a slightly larger area than is needed and then trim the paper/card down to the required finished size. Images, background images and fills which are intended to extend to the edge of the page must be extended beyond the trim line to give a bleed.
Bleed refers to elements outside the finished piece. Printed materials require bleed to allow for "bounce" when cutting a job down to size. Failing to provide bleed can result in finished pieces showing a thin area of white on the edge.
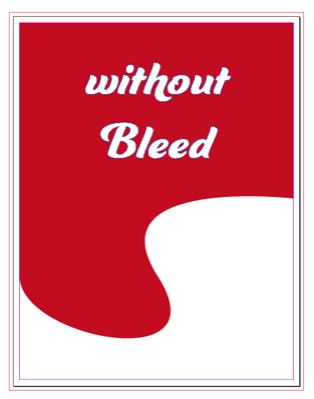
The opposite is true of pieces without bleed. A 3/16" margin should be set within all 4 sides of the finished size and images, background images and fills should be kept inside of this margin, otherwise uneven borders can result.
Here are the steps to add bleed to your artwork using Adobe® software.
Adobe® Photoshop®
Open Photoshop and click File > New…
Enter the FULL BLEED dimensions. That is, 1/4″ extra both vertically and horizontally.
Set the Resolution at 300 pixels/inch
Set the Color Mode to CMYK
Adobe® Illustrator
Open Illustrator and click File > New…
Enter the TRIM dimensions in the Width and Height boxes (for example, the trim dimension on a standard business card would be 3.5″ x 2″)
Enter 0.125 for the top, bottom, left and right bleed
Set the Colour Mode to CMYK
Set the Raster Effects at High (300ppi)
Adobe® InDesign®
Open InDesign and click File > New > Document…
Enter the TRIM dimensions under Page Size (for example, a standard business card would have trim dimensions of 3.5″ x 2″)
If you do not see “Bleed and Slug” at the bottom of the window, click the “More Options” button.
Enter 0.125 for the top, bottom, left and right bleed
When using other software, set your page size 1/4" larger, for example, an 8.5" x 11" finished size should be set up at 8.75" x 11.25".